Tag Archives: recipe

A Culinary Song of Patriotism: Chicken, Cheddar and Apple Pie.

Hey guys, and welcome to this Sunday’s installation of Cries of Despair from the Lungs of a Fallen Eagle. That Eagle? Me. Those cries? Some wordiness eventually resulting in an absurdly decadent dinner-pie recipe.

Also, did you notice how all of those words up there were capitalized like they were part of the title of some piece of literature? I just wanted to see how that felt.

It’s been a difficult few weeks for me emotionally, and I guess generally, as I’ve been pursuing the grim prospect of employment during this trying period of our country’s history. It’s been a long time since I’ve had to market myself beyond my ability to carry a tray while looking fantastic in dim lighting, covered in beer. Beyond that, I am a proverbial infant. Meaning, yes, I cry myself to sleep every single night. All night. Just heavy, snotty sobs, yearning for my mother’s bosom.

Unfortunately for me and my delicate feelings, I live with a highly motivated and professional man who continuously reminds me, through a harmonious combination of inspirational speech and daily, unconscious action, that I should quit whining and just keep doing the damn thing until it gets done and it’s like, holy shit, that’s just America for you, isn’t it? That’s just some straight up inspirational American shit. My Grandpa spent his youth tearing the heads off of live chickens and chasing their headless bodies around a chicken-shit covered barn and I’m like, man, cover letters are hard and redundant. And you know what? They are hard and redundant. They are the worst. But they aren’t anything like twisting the tiny heads off of live chickens and playing poultry tag in the dusty springtime.

What I am trying to say is America. It is vast, and it is durable, and it is comprised of a bizarre dichotomy of people who boast of upholding its founding values and those who actually define it. Somewhere in the middle of those two things, people blog. This country, let’s be honest (without actually getting into it), is a weird ass country. But I believe in it. To America, I sing songs of rich justice. I sing songs that sound a lot like America the Beautiful, but I’m not going to claim to know all the lyrics to America the Beautiful. And to America I do dedicate this magical recipe: Chicken, Cheddar, and Apple Pie.

I think savory pies are so fantastic. It means you eat goddamn pie for dinner. There is baking and also there is salt. I think that is what our forefathers were getting at when they traded small pox for corn. They wanted their children to grow up in a world where dairy meets meat meets fruit meets dessert meets butter meets GOD.

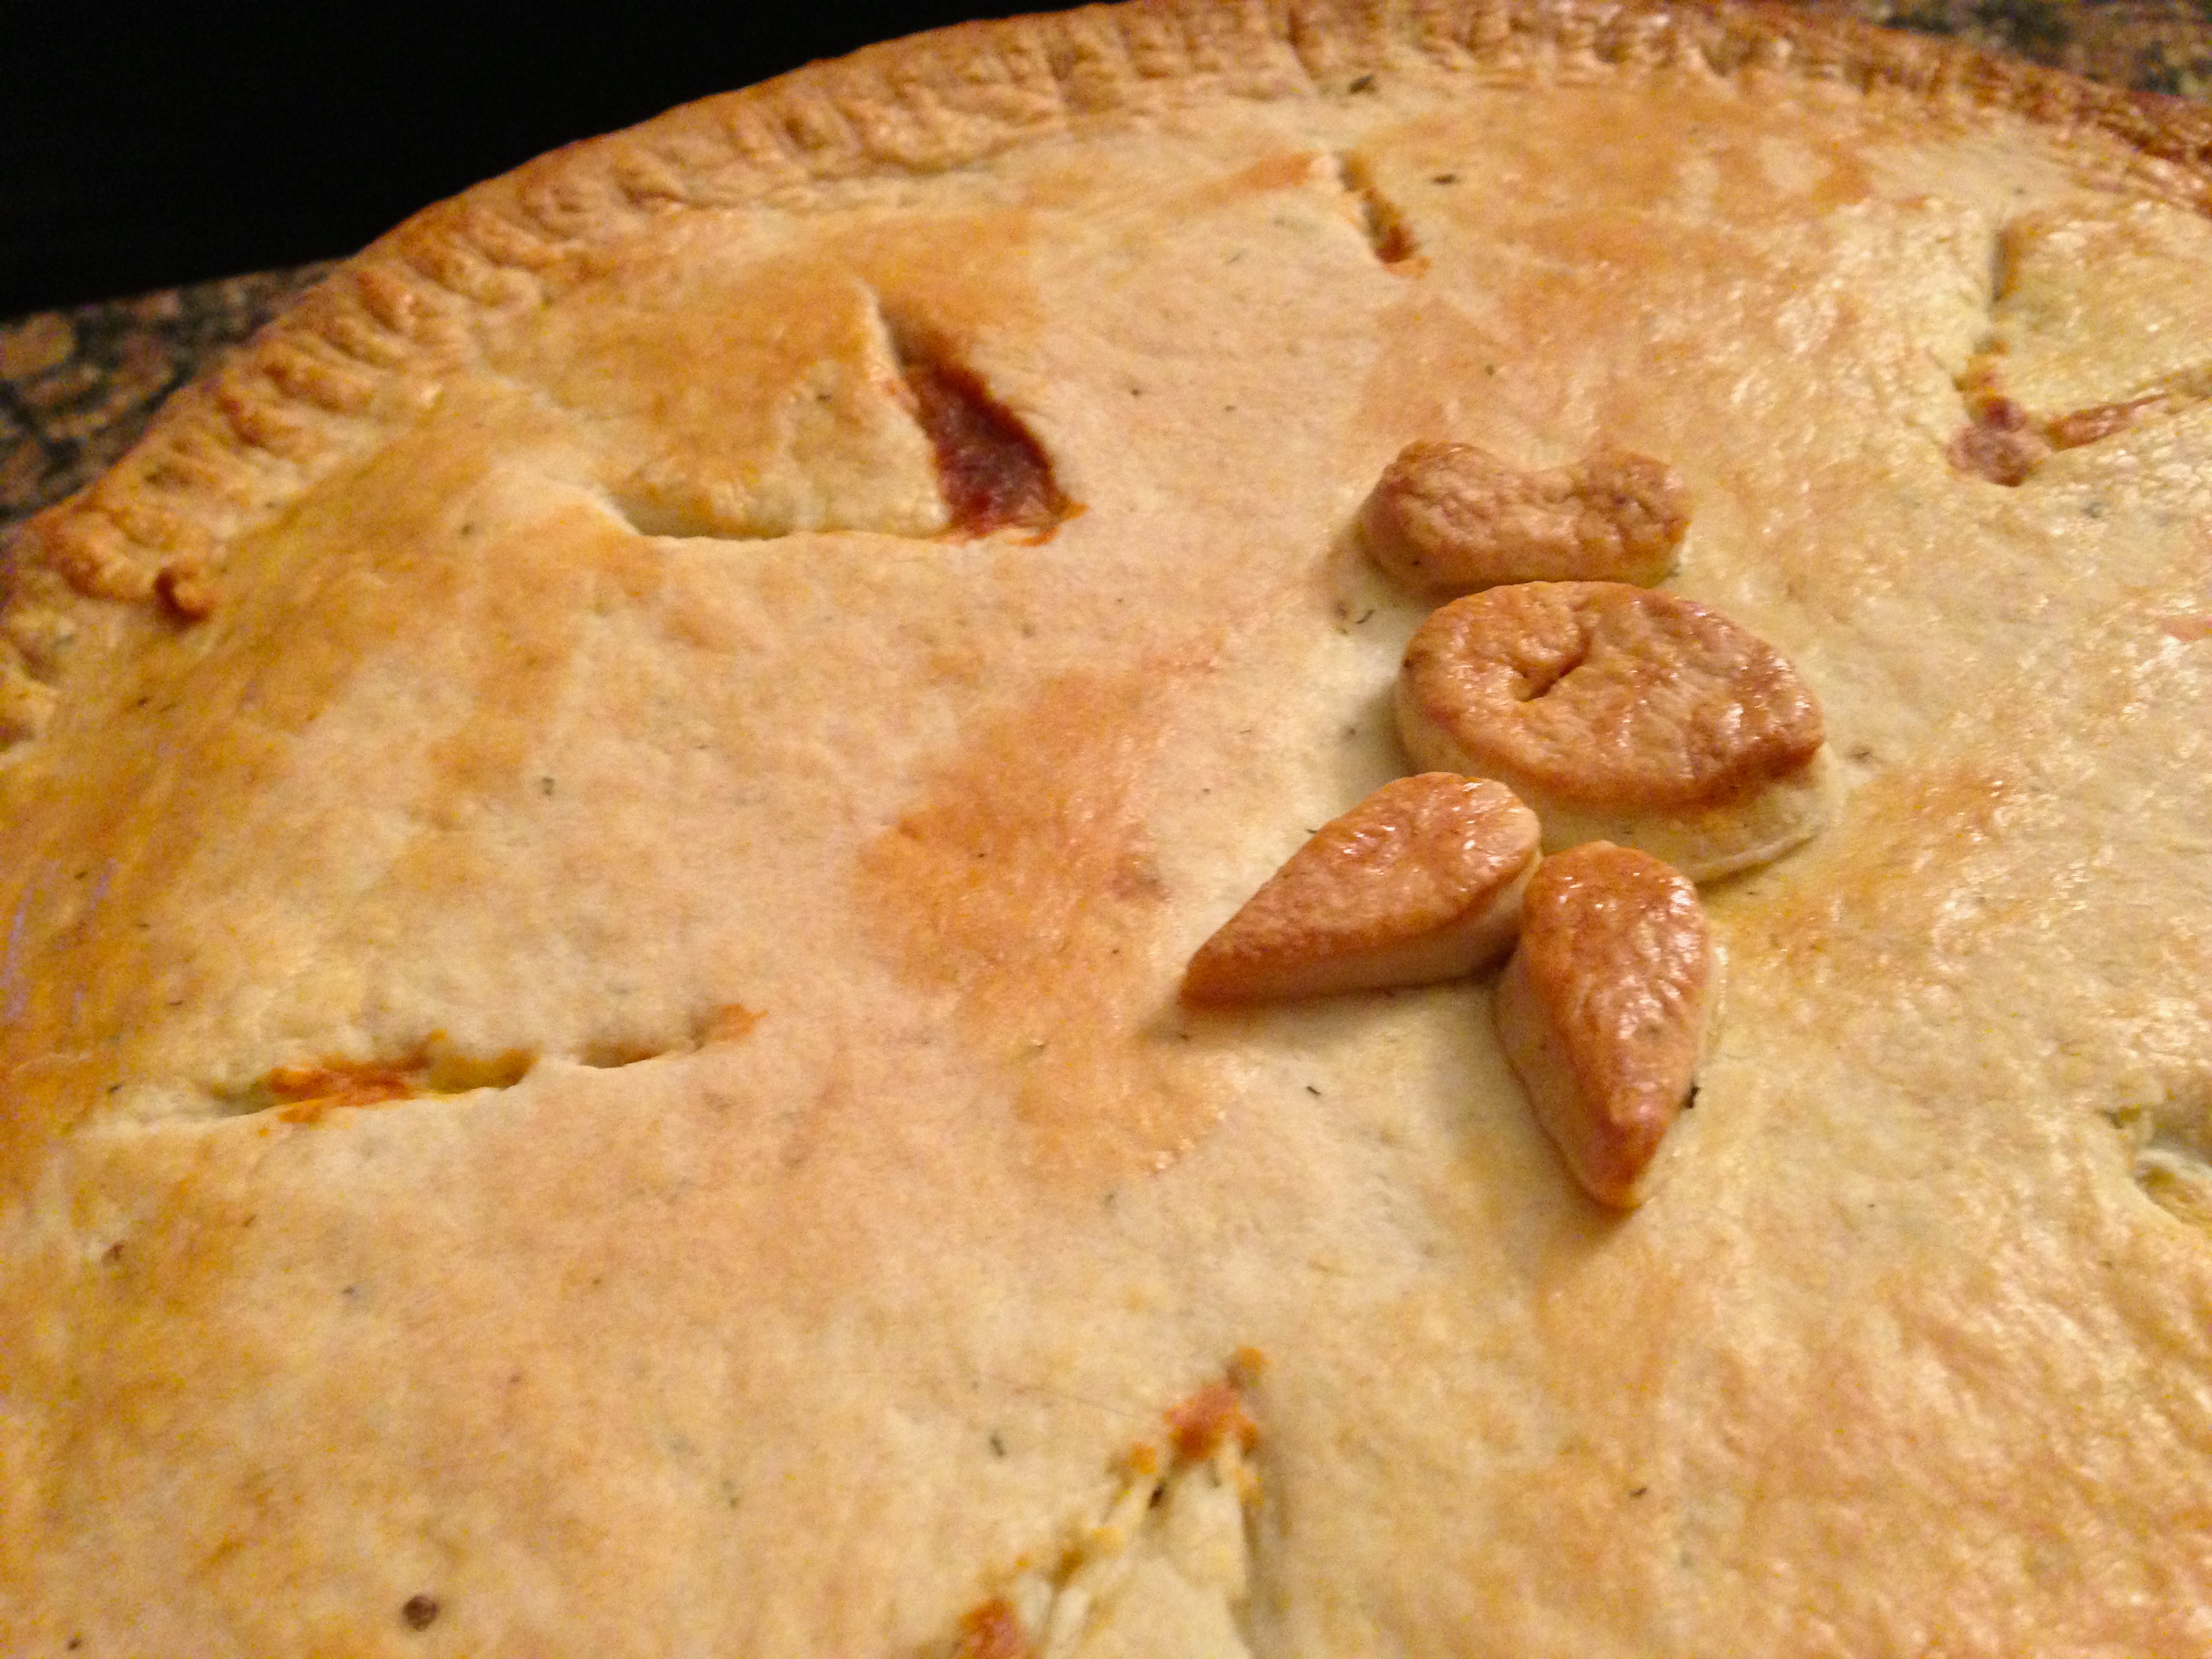
I was nervous about how this whole thing might turn out. Flavor-wise, it’s right up my ally. But pies are tricky. Sometimes ingredients of pristine integrity turn to Oliver Twist-y soup-matter in pies, and you can’t see a damn thing happening until you cut that sucker open and all is lost (e.g. childbirth). It’s a lot to trust to blind fate. However, in my case, I’d like to just think my understanding of baking is so comprehensive that failure wasn’t even a variable. Now, despite that being the least true, we sat down to dinner and my boyfriend responded with, “It’s actually pretty good.” That is the My Boyfriend equivalent of seven Michelin stars, so make this pie now. If there’s anything I regret, it’s not putting a little more effort into making it beautiful, but it was, like, 9 p.m. and we were pretty hungry. You, however, should plan ahead, redeem my sloth.

Chicken head

Chicken, Cheddar, and Apple Pie

Preheat oven to 425°F

Crust

18 oz Flour
2 oz Sugar
½ oz Salt
1 tsp Baking powder
8 oz (2 sticks) Unsalted butter, cold, cut into small pieces
1 egg
1 egg yolk
½ cup Cold water

Optional:

1 tsp Black Pepper
2 tsp Dried dill

In the bowl of a mixer, combine flour, sugar, salt, baking powder, and seasoning (if you choose to use it). Mix on low with a dough hook until combined. Add butter and mix on medium-low until butter is cut into flour and chunks are the size of very small grapes. Add egg and egg yolk. Scrape down bowl and bit, then gradually add cold water. You may not need to add all of the water. Add water until the dough begins to form a solid ball, but you do not want dough to be wet or sticky. There should be some dry flour remaining in the bottom of the bowl. After dough starts to collect, turn dough onto a floured surface and kneed a few times until a solid ball is formed. Create a thick, round disk, wrap in plastic wrap, and refrigerate for at least 30 minutes.

Chicken

1 Full bone-in chicken breast
or 2 Boneless, skinless breasts
1/2 Large yellow onion
Herbs of your choosing

You can prepare the chicken in nearly any way you’d like. If I had had time, and we weren’t starving, I might have done it in the slow cooker and done a sort of pulled-chicken. You could also simply oven-roast the breasts for 20-30 minutes, covered, with a little oil and seasoning. I did the following:

Slice half an onion and place in a shallow pot with chicken. Fill pot with water (or stock) to cover chicken. Add herbs if so desired. Bring to a boil, then lower to a simmer and cook on low heat for 20-25 minutes. Allow to cool, then cut into 1-cm sized chunks, or shred it, or whatever.

Apples

4 Grannysmith apples, peeled and cored

First, dice the other half of the onion. Sautee in a small amount of oil or butter until translucent, and set aside. In the same pan, also sautee apples, diced, in a small amount of oil or butter until tender and sweet, but not soft. Set aside with onions.

Cheddar Filling

18 oz Milk
1 tbsp Sugar
1 oz Corn starch
1 Egg
1 Egg yolk
7 oz Light cream
12 oz Cheddar, grated
1 tsp Cayenne pepper
2 tsp Nutmeg
18-20 leaves Fresh sage, finely chopped
Salt and pepper, to taste

In a medium sauce pan, bring milk and sugar to a boil. In a medium bowl, combine corn starch, egg, egg yolk, and light cream and whisk until combined. When milk has boiled, remove from heat and temper starch mixture by slowly pouring in milk while simultaneously whisking. Return mixture to stove, and bring back to a boil. Cook for 3 minutes, until thickened. Remove from heat and add cheddar, mixing until melted. Add remaining seasonings.

To Assemble:

Rolled dough

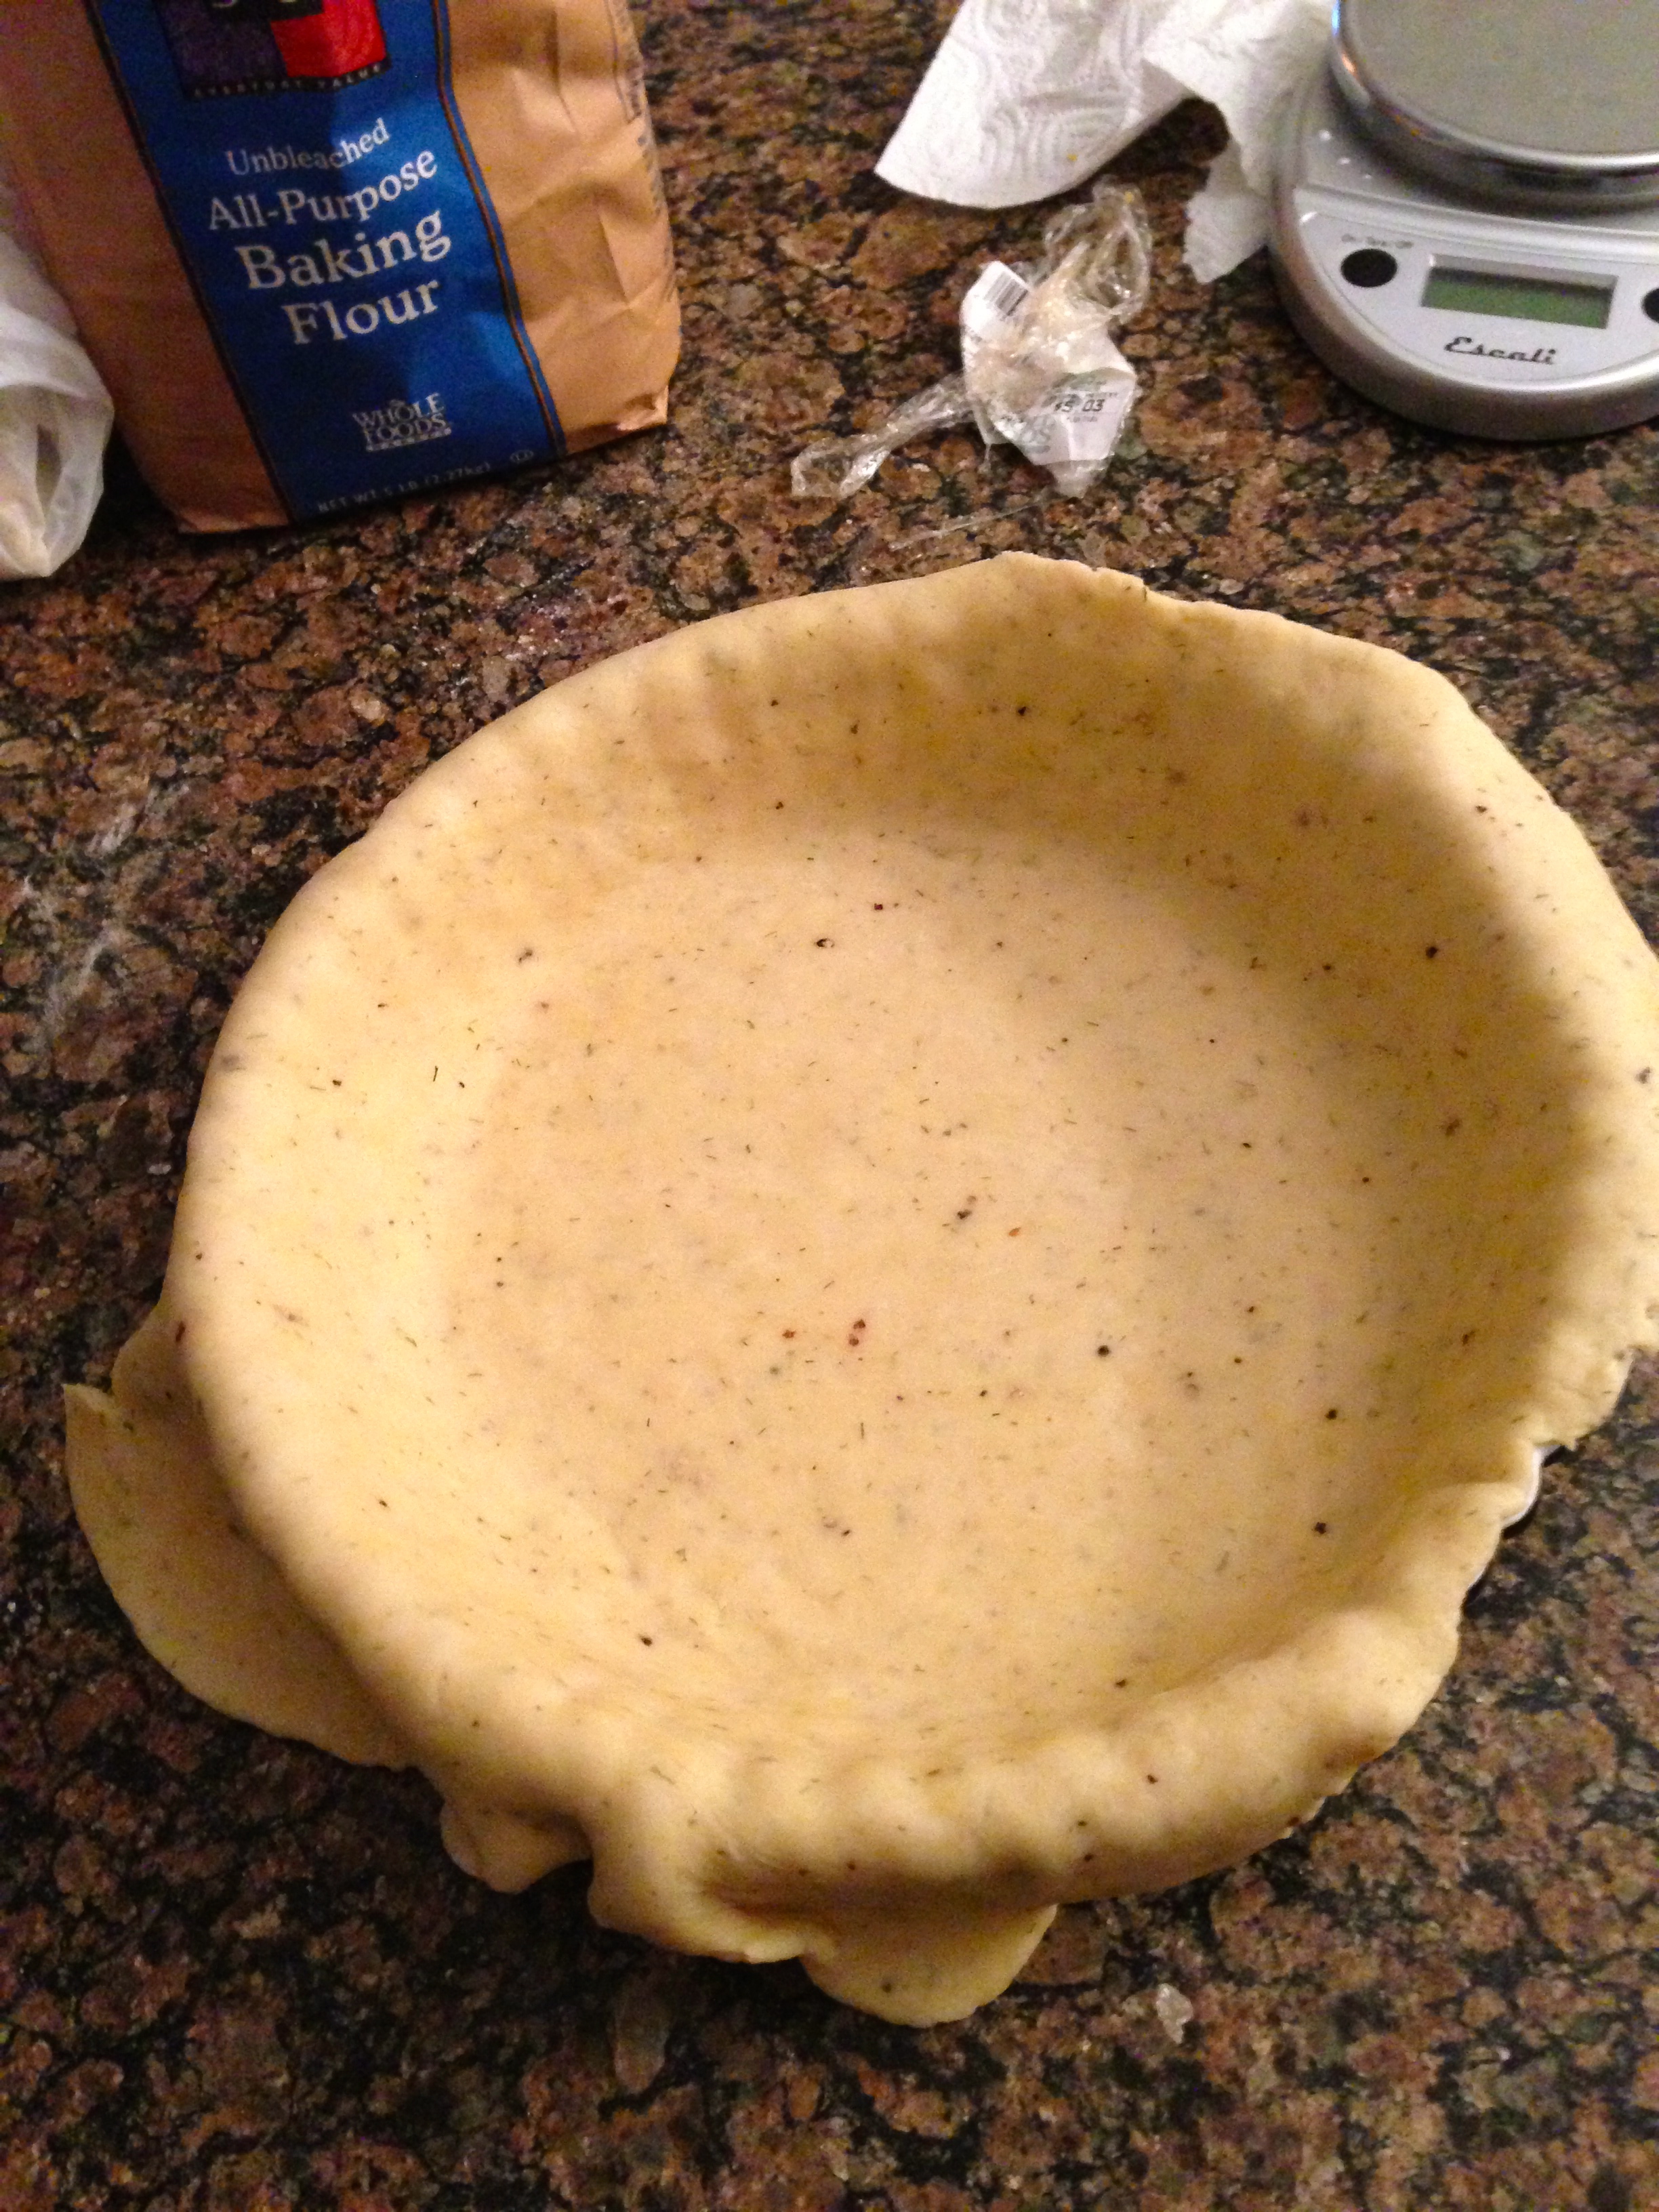
Divide dough in half. Roll out half of crust to an 1/8 inch thickness. Line your chosen pie dish wish dough, and press into bottom and sides very gently. “Dock” the bottom of the dough by piercing with the prongs of a fork.  Return to the refrigerator or freezer for an additional 15 minutes before filling.

Combine apples, onions, and chicken with cheddar filling. Remove second half of dough from fridge and roll out for the top of the pie. Remove pie crust from fridge and fill with chicken, apples, and cheddar. Cover with remaining dough, and press down on edges to seal. Cut along edges to remove excess dough. Use fingers or fork to press down and seal the layers of dough. Brush the dough with an egg wash (either whole egg or egg mixed with water) and cut slits in the top of dough. Make them nicer than mine.

Place pie in the middle of oven. Close door, and lower oven temperature to 375°F. Bake for about 30-40 minutes, or until crust is a deep, golden brown, turning the pie in the oven halfway through baking. Allow to cool 10-15 minutes before serving. Hint: Spinach and fennel salad is a good friend to this pie.

A delicious pie

Advertisement
Tagged , , , , , , ,

When life hands you Christmas, make Lemonade Bread.

My apartment is a hot Christmas mess at the moment. There are shopping bags, lights strands, and tape covering just about every surface. Tape gets everywhere, it’s incredible. I don’t even know where it comes from, I’m pretty sure I haven’t wrapped a single present yet. To make matters worse, I bought my cats this adorable little stuffed fish, which they both love and have destroyed. This tiny fish continues to spew an infinite amount of white, spun, synthetic fluff. It looks like Betty White has just been wandering around my living room, scratching her head, marking her territory.

Given that this disarray has been making me feel a little Howard Hughes-y, I wanted a project that could basically take care of itself while I dug myself out of the holiday rubble. Making bread probably didn’t seem like the most logical choice, but hear me out. A while back I came up with a pretty excellent recipe for what I deemed to be Lemonade Bread. These are round, fluffy rolls with a zesty kick, rolled in sugar. Sounds gross, right? The recipe calls for the inclusion of yeast starter, and this is the part that is stupid simple. Not only that, using a yeast starter instead of just throwing a little yeast right in the dough is almost a guarantee for a perfect rise, texture, and enhanced flavor.

On an unrelated note, you know those words that just never look like words? Those words that, regardless of how frequently you use them, you will be forever Googling them in disbelief? “Guarantee” is one of them.

There are all kinds of yeast starters, but there are two in particular you’d want to know about. Certain doughs, the kind that produce your chewier breads with substantial crusts (e.g. baguettes, focaccia) are much looser in nature, having a higher water content than other doughs. The starter for this dough, should you choose to use one, also has a high water content, and is referred to as a Poolish starter. However, we’re not using that one, so just forget I even mentioned it. What we’re making is a nice, soft roll with a delicate crust. Our water to flour ratio is going to be pretty even, so we need a starter that also uses a 1:1 ratio of water to flour. This kind of starter is called a Biga. It is a really stupid sounding word. It sounds like a parasite.

Lembread2

Biga Starter

10 oz Water, room temperature
½ tsp Active Dry Yeast
8 oz Bread Flour (though all-purpose will work fine)

In a small cup or dish, combine water and yeast and stir to dissolve. Combine with flour in a large container, and mix thoroughly. Cover the container, leave in a cozy, warm place in your kitchen and let it do its thing for 24 hours.

When you come back the next day, your Biga will have morphed into a living, breathing amorphous blob, festering with a new yeasty colony. The biga is thick, sticky, and structurally sound. It should be warm and have that earthy and tart smell of yeast activity. You don’t want to leave it too long, however, or it will basically smell like moonshine. In fact, if your Biga smells like panhandling and regret, that’s a good indication you’ve let it go a little too long. That applies to a lot of things in this life.

Now that your Biga is good to go, I hope you’ve taken the time to straighten up your life and your kitchen, because we’re about to make some bread, ya’ll! These rolls are perfect for brunch, maybe served up with a little crème fraiche (Would you like that recipe too?) or even in place of dessert if you’re part of more of an after-dinner coffee crowd.

Bear in mind two things. One, this is a fairly large recipe (makes around 2 dozen rolls), and you shouldn’t hesitate to cut it in half if that’s more appropriate for your needs. The amounts are very easily divisible. Second, I want to make the case for using weight measures instead of volume measures, particularly for bread. When measuring in volume, so many factors can actually alter the amounts of what you are really taking out. One day, a cup of flour at your house could weigh 5 ounces, the next it may be 7. If you’re measuring in weight, the amount will not vary. Digital scales these days are super compact and super affordable (mine was $20 and I use it every time I bake). You will not regret the investment.

Lemonade Bread

3 lbs Bread Flour
12 oz Biga
½ Active Dry yeast, dissolved in a small amount of water
1 oz Salt
6 oz Sugar
17 oz Buttermilk
3 oz Lemon juice
2 Eggs
3 oz Butter, softened
2 Tbsp White or black pepper (I prefer white)
Zest of 4 lemons

1 Stick of butter, melted
A big bowl of sugar

In the bowl of a standing mixer with a hook attachment, place your flour and your biga right in the middle. Around the sides of the bowl, add your yeast, sugar, and salt so that the yeast is NOT touching them. This is very important! Salt, and sometimes sugar, can burn yeast if they come into direct contact without being mixed up with other ingredients first. Fortunately for you, my artistic skills are boundless and I have provided a little diagram to demonstrate this point.

Bread Demo

Turn mixer on low-medium speed. Combine your buttermilk and lemon juice, and add them slowly to the flour, running the liquid down the sides of the bowl. Once the liquid has absorbed, add eggs one at a time. Allow dough to mix for 5 minutes. If there is still a significant amount of flour at the bottom of your bowl, drizzle a little extra buttermilk down the side to pick it up, but try not to add more than necessary. Once dough has been worked a bit, gradually add butter in small chunks. Continue mixing another minute, then turn dough out onto a lightly floured surface. Knead dough by hand for at least ten minutes. Get comfortable here. Turn on the Real Housewives of Kansas City or something and let yourself become enraptured in the repetitive motion.

Create a divet in the middle of your dough, and add your pepper and lemon zest. Continue to knead for another 5-10 minutes, or until pepper and zest are well distributed throughout the dough. The reason we add the pepper and zest at this point is because some spices and add ins, pepper and nuts in particular, inhibit gluten development, literally cutting through the strands. We want to add them later in the process after the gluten has had a little time to strengthen.

Return your dough to your bowl, lightly dusted with flour, and cover with a dampened towel. Place in a warm part of your kitchen (maybe on top of your oven if you have it on low heat) and allow to ferment for 30 minutes. After 30 minutes, you want to “punch down” your dough to release some of the gasses. Literally make a fist and press down on your dough a few times. Cover again, and allow to ferment for another 30-40 minutes. You can let it go longer, but you essentially want your dough to double in size. Depending on the temperature of your house, the time may vary.

After the second round of fermenting, it’s time to portion out your dough. Pick a size that you like (I did about half the size of my fist, about 4 or 5 oz) and use that as the model. Measure your pieces in weight for superb symmetry. Also remember that once measured out, your dough will go through another round of proofing and will double in size again. Try to keep your dough covered by a cloth throughout the process, you don’t want the surface to dry out.

After you have your pieces, you now want to round your dough! This is really hard to describe in words, so you should absolutely check out this great little video demo I hunted down.

My first day of bread class, trying to master this made tears well up large and violent in the back of my throat. Once you get it, however, it’s easy-peasy.

Place yours dough balls on top of parchment paper, spaced with at least two inches in between eachother. Parchment paper is going to make a world of difference. Keep the rolls covered (a trash bag works well) and allow to proof for 15-30 minutes, or doubled in size.

Transfer entire sheets of dough covered parchment to your sheet pan(s). Bake rolls in a 375°F oven. Bake about 15 minutes before rotating your sheets in the oven. Bake another 15-20 minutes. Don’t be Draconian about baking times. Every oven is unique. Some run hot, some run just right. The rolls are done when they are golden brown and feel significantly lightened when picked up. Check the bottoms. Are the bottoms nice and golden too? That’s good. If you find the tops are browning too much and too soon, turn your oven down a bit. Throw a little water down in the bottom of your oven too to create a little steam. That sounds strange, but it’s good.

Once baked, allow rolls to cool slightly. Next, brush rolls with butter and roll them in a big bowl of sugar. The result is a sparkling pillow, a shimmering and scrumptious poof. If you are planning on serving them the next day, I would wait to butter and sugar them later rather than sooner.

LemBread3

I know this recipe was a little intense, but I feel like we grew a lot together in a short amount of time. Trust me, these are delicious and they look gorgeous.

Oh, and I mentioned a recipe for crème fraiche didn’t I?

Crème Fraiche

8 oz Heavy Cream
2 oz Buttermilk

Heat cream on the stove to about 105°F (it will steam, not necessarily simmer). Pour into container or jar. Stir in buttermilk, and cover very loosely with plastic wrap. Allow to sit out at room temperature for 24-36 hours. Stir thickened mixture, and chill in refrigerator for at least 8 hours before serving.

Tagged , , , , , , , ,